Introduction
This tutorial shows an easy way of implementing internationalization in a Shiny application built using Rhino framework. The goal is to recreate a simple app that can be found in the examples, but with the Rhino setup.
Setup Rhino application
The first step is to create a Rhino application. Before that, make
sure that you have rhino installed:
install.packages("rhino")Now, initialize a new Rhino application. You can do it either by
using RStudio Wizard or a function
rhino::init("rhino_i18n"). More details on how to create a
Rhino app can be found in the Rhino
tutorial.
After initializing the application, the next step is to install
shiny.i18n and add it to the dependencies.
In the R console run:
install.packages("shiny.i18n")After that, modify dependencies.R file:
# dependencies.R

library(rhino)
library(shiny.i18n)
And update renv.lock by running in the R console:
renv::snapshot()Build a basic application
The next step is to fill out the application with the content. We will use the example application that can be found in the examples.
Initial application
First, let’s implement the basic version of the app (without
internationalization). Modify app/main.R in the following
way:
# app/main.R

box::use(
  shiny,
  graphics[hist],
)

#' @export
ui <- function(id) {
  ns <- shiny$NS(id)
  shiny$fluidPage(
    shiny$div(
      style = "float: right;",
      shiny$selectInput(
        ns("selected_language"),
        "Change language",
        choices = c("en", "pl", "it")
      )
    ),
    shiny$titlePanel("Hello Shiny!", windowTitle = NULL),
    shiny$sidebarLayout(
      shiny$sidebarPanel(
        shiny$sliderInput(
          ns("bins"),
          "Number of bins:",
          min = 1,
          max = 50,
          value = 30
        )
      ),
      shiny$mainPanel(
        shiny$plotOutput(ns("distPlot")),
        shiny$p("This is description of the plot.")
      )
    )
  )
}

#' @export
server <- function(id) {
  shiny$moduleServer(id, function(input, output, session) {
    output$distPlot <- shiny$renderPlot({
      x <- datasets::faithful[, 2]
      bins <- seq(min(x), max(x), length.out = input$bins + 1)
      hist(
        x,
        breaks = bins,
        col = "darkgray",
        border = "white",
        main = "Histogram of x",
        ylab = "Frequency"
      )
    })
  })
}
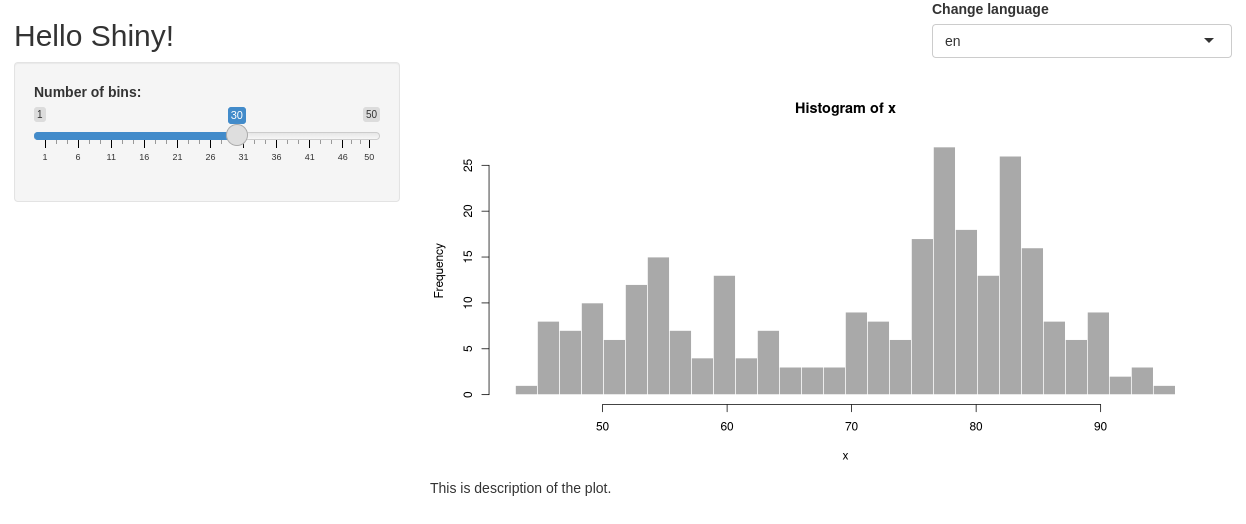
If you run it with shiny::runApp() you will see a
slightly modified version of the “Old Faithful Geyser Data” app.

Add translator
The next step is to add an instance of
shiny.i18n::Translator class and provide the translations.
In shiny.i18n, translations can be added as CSV or JSON
files - we will use the latter. Create app/translations
directory, and inside add translations.json file:
{
  "languages": ["en", "pl", "it"],
  "translation": [
      {
        "en": "Hello Shiny!",
        "pl": "Witaj Shiny!",
        "it": "Ciao Shiny!"
      },
      {
        "en": "Number of bins:",
        "pl": "Liczba podziałek:",
        "it": "Numero di intervalli"
      },
      {
        "en": "This is description of the plot.",
        "pl": "To jest opis obrazka.",
        "it": "Questa è la descrizione della grafico."
      },
      {
        "en": "Histogram of x",
        "pl": "Histogram x",
        "it": "Istogramma di x"
      },
      {
        "en": "Frequency",
        "pl": "Częstotliwość",
        "it": "Frequenza"
      },
      {
        "en": "Change language",
        "pl": "Wybierz język",
        "it": "Cambia lingua"
      }
    ]
}
Now, we need to create a Translator and pass the path to the
translation file. In the app/main.R file add:
# app/main.R

box::use(
  shiny,
  graphics[hist],
  shiny.i18n[Translator],
)

i18n <- Translator$new(translation_json_path = "app/translations/translations.json")

#' @export
ui <- function(id) {

...
The next step is to choose the default translation language:
Translate UI elements
Now we are ready to start plugging the translator into the application. First, the language selection input should use languages available in the translator and start with the default language selected.
# app/main.R

box::use(
  shiny,
  graphics[hist],
  shiny.i18n[Translator],
)

i18n <- Translator$new(translation_json_path = "app/translations/translations.json")
i18n$set_translation_language("en")

#' @export
ui <- function(id) {
  ns <- shiny$NS(id)
  shiny$fluidPage(
    shiny$div(
      style = "float: right;",
      shiny$selectInput(
        ns("selected_language"),
        "Change language",
        choices = i18n$get_languages(),
        selected = i18n$get_key_translation()
      )
    ),
    shiny$titlePanel("Hello Shiny!", windowTitle = NULL),

...
We also need to add shiny.i18n dependencies and add the
translator to the UI by calling usei18n():
# app/main.R

box::use(
  shiny,
  graphics[hist],
  shiny.i18n[Translator, usei18n],
)

i18n <- Translator$new(translation_json_path = "app/translations/translations.json")
i18n$set_translation_language("en")

#' @export
ui <- function(id) {
  ns <- shiny$NS(id)
  shiny$fluidPage(
    usei18n(i18n),
    shiny$div(
      style = "float: right;",
      shiny$selectInput(
        ns("selected_language"),
        "Change language",
        choices = i18n$get_languages(),
        selected = i18n$get_key_translation()
      )
    ),

...
We still miss the connection between the select input and the
translation language change. To achieve that, we will use an
observeEvent with shiny.i18n::update_lang
function:
# app/main.R

box::use(
  shiny,
  graphics[hist],
  shiny.i18n[Translator, usei18n, update_lang],
)

i18n <- Translator$new(translation_json_path = "app/translations/translations.json")
i18n$set_translation_language("en")

#' @export
ui <- function(id) {
  ns <- shiny$NS(id)
  shiny$fluidPage(
    usei18n(i18n),
    shiny$div(
      style = "float: right;",
      shiny$selectInput(
        ns("selected_language"),
        "Change language",
        choices = i18n$get_languages(),
        selected = i18n$get_key_translation()
      )
    ),
    shiny$titlePanel("Hello Shiny!", windowTitle = NULL),
    shiny$sidebarLayout(
      shiny$sidebarPanel(
        shiny$sliderInput(
          ns("bins"),
          "Number of bins:",
          min = 1,
          max = 50,
          value = 30
        )
      ),
      shiny$mainPanel(
        shiny$plotOutput(ns("distPlot")),
        shiny$p("This is description of the plot.")
      )
    )
  )
}

#' @export
server <- function(id) {
  shiny$moduleServer(id, function(input, output, session) {
    shiny$observeEvent(input$selected_language, {
      update_lang(input$selected_language)
    })

    output$distPlot <- shiny$renderPlot({
      x <- datasets::faithful[, 2]
      bins <- seq(min(x), max(x), length.out = input$bins + 1)
      hist(
        x,
        breaks = bins,
        col = "darkgray",
        border = "white",
        main = "Histogram of x",
        ylab = "Frequency"
      )
    })
  })
}
The next step is to translate text in the UI part of the application.
To do that, simply wrap text in i18n$translate()
method:
# app/main.R

box::use(
  shiny,
  graphics[hist],
  shiny.i18n[Translator, usei18n, update_lang],
)

i18n <- Translator$new(translation_json_path = "app/translations/translations.json")
i18n$set_translation_language("en")

#' @export
ui <- function(id) {
  ns <- shiny$NS(id)
  shiny$fluidPage(
    usei18n(i18n),
    shiny$div(
      style = "float: right;",
      shiny$selectInput(
        ns("selected_language"),
        i18n$translate("Change language"),
        choices = i18n$get_languages(),
        selected = i18n$get_key_translation()
      )
    ),
    shiny$titlePanel(i18n$translate("Hello Shiny!"), windowTitle = NULL),
    shiny$sidebarLayout(
      shiny$sidebarPanel(
        shiny$sliderInput(
          ns("bins"),
          i18n$translate("Number of bins:"),
          min = 1,
          max = 50,
          value = 30
        )
      ),
      shiny$mainPanel(
        shiny$plotOutput(ns("distPlot")),
        shiny$p(i18n$translate("This is description of the plot."))
      )
    )
  )
}

...
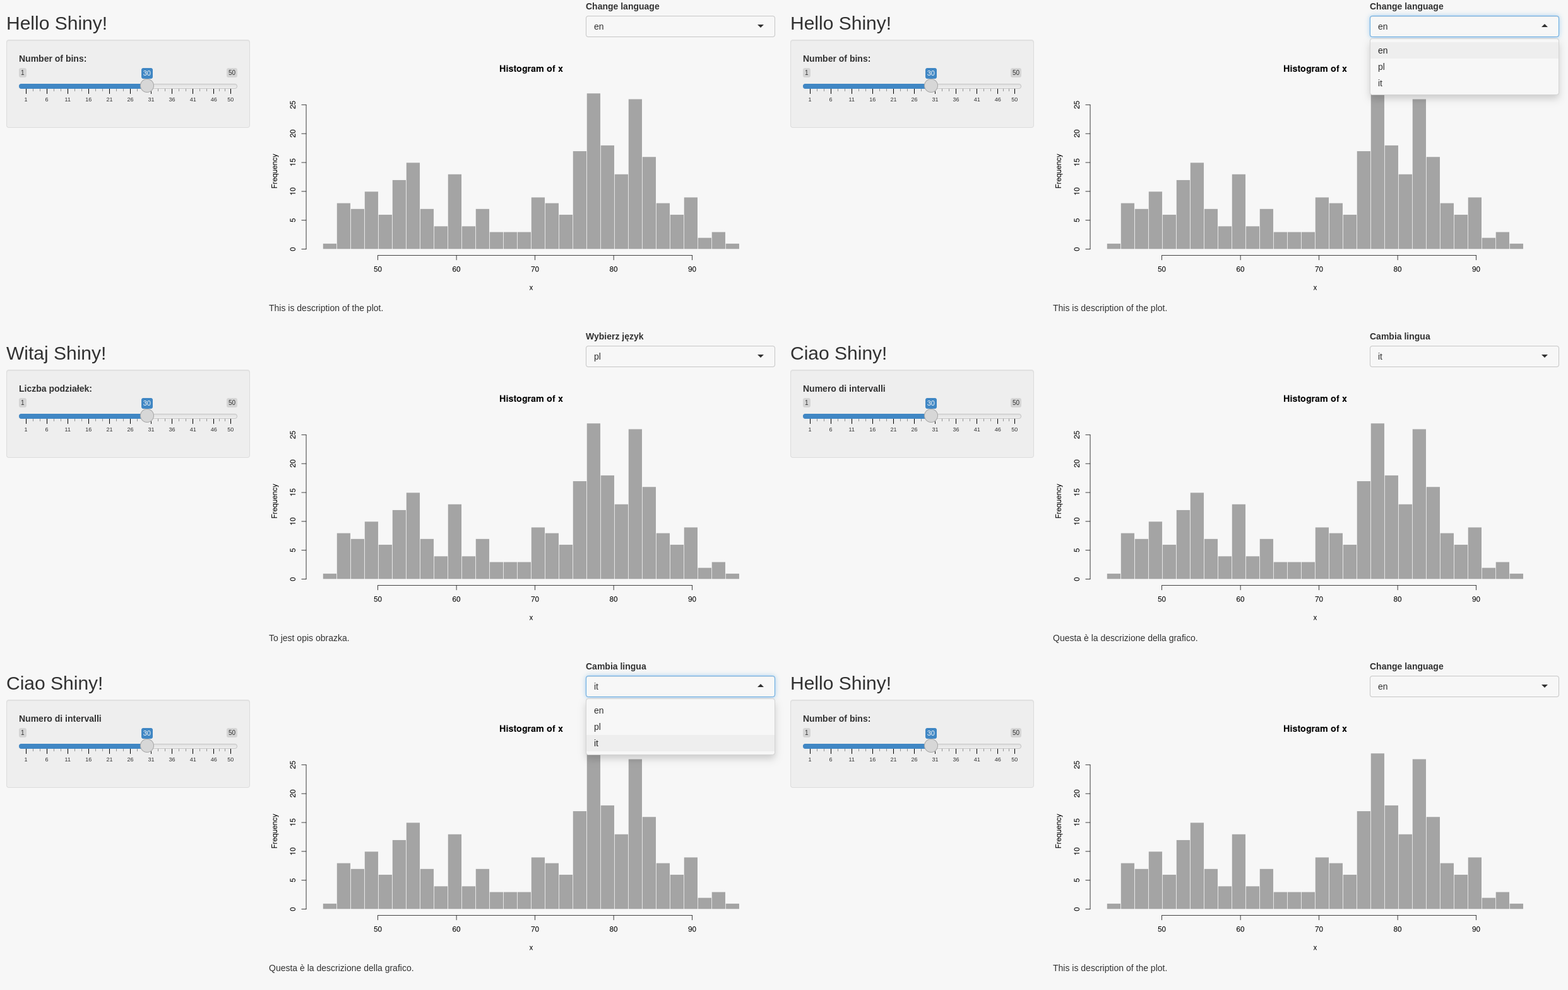
If you now run the app, you will see that changing the language updates application text with the proper translation:

Translate the server part
The only missing part is the plot - the title and y-axis label. The text there is rendered in the server, so we need to add the translator there:
# app/main.R

box::use(
  shiny,
  graphics[hist],
  shiny.i18n[Translator, usei18n, update_lang],
)

i18n <- Translator$new(translation_json_path = "app/translations/translations.json")
i18n$set_translation_language("en")

#' @export
ui <- function(id) {
  ns <- shiny$NS(id)
  shiny$fluidPage(
    usei18n(i18n),
    shiny$div(
      style = "float: right;",
      shiny$selectInput(
        ns("selected_language"),
        i18n$translate("Change language"),
        choices = i18n$get_languages(),
        selected = i18n$get_key_translation()
      )
    ),
    shiny$titlePanel(i18n$translate("Hello Shiny!"), windowTitle = NULL),
    shiny$sidebarLayout(
      shiny$sidebarPanel(
        shiny$sliderInput(
          ns("bins"),
          i18n$translate("Number of bins:"),
          min = 1,
          max = 50,
          value = 30
        )
      ),
      shiny$mainPanel(
        shiny$plotOutput(ns("distPlot")),
        shiny$p(i18n$translate("This is description of the plot."))
      )
    )
  )
}

#' @export
server <- function(id) {
  shiny$moduleServer(id, function(input, output, session) {
    shiny$observeEvent(input$selected_language, {
      update_lang(input$selected_language)
    })

    output$distPlot <- shiny$renderPlot({
      x <- datasets::faithful[, 2]
      bins <- seq(min(x), max(x), length.out = input$bins + 1)
      hist(
        x,
        breaks = bins,
        col = "darkgray",
        border = "white",
        main = i18n$translate("Histogram of x"),
        ylab = i18n$translate("Frequency")
      )
    })
  })
}
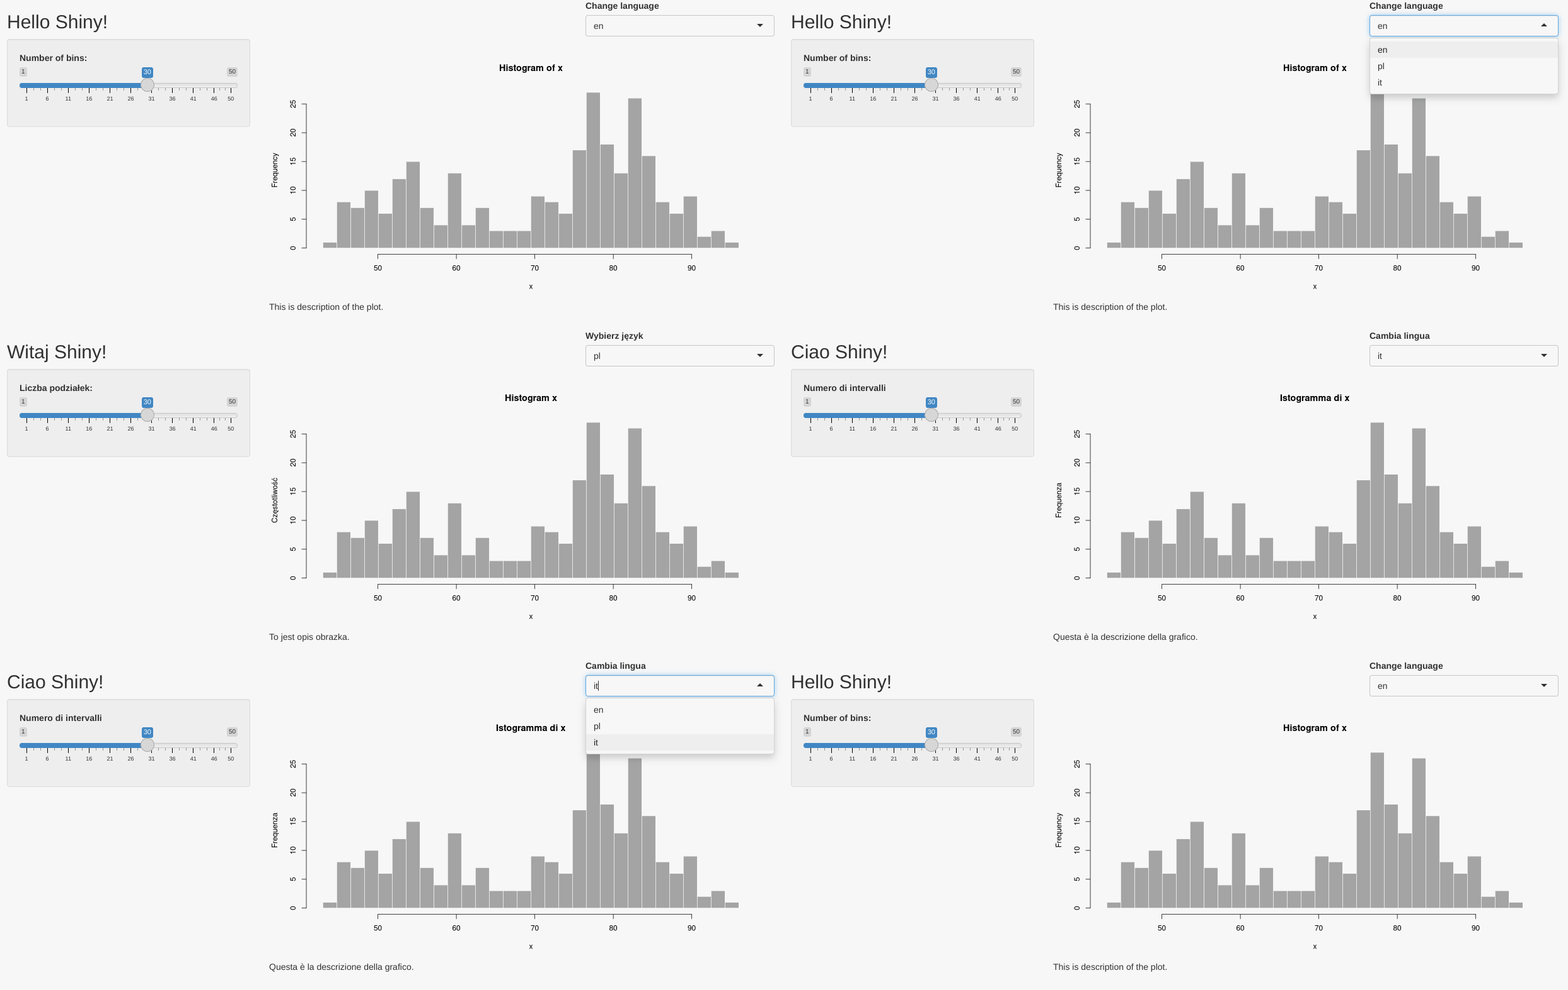
Now, if you run the application, everything should work:

Add inner module
A Rhino application is usually built using multiple Shiny modules. You can learn more about the Rhino structure from this article. In this section, we are going to show how the translator can be used in such a setup, by moving the main panel into a separate module.
First, create a new R file app/view/main_panel.R:
# app/view/main_panel.R

box::use(
  shiny,
)

#' @export
ui <- function(id) {
  ns <- shiny$NS(id)

}

#' @export
server <- function(id) {
  shiny$moduleServer(id, function(input, output, session) {

  })
}
Now, let’s move the main panel from app/main.R into
app/view/main_panel.R:
# app/view/main_panel.R

box::use(
  shiny,
  graphics[hist],
)

#' @export
ui <- function(id, i18n) {
  ns <- shiny$NS(id)

  shiny$mainPanel(
    shiny$plotOutput(ns("distPlot")),
    shiny$p(i18n$translate("This is description of the plot."))
  )
}

#' @export
server <- function(id, bins, i18n) {
  shiny$moduleServer(id, function(input, output, session) {
    output$distPlot <- shiny$renderPlot({
      x <- datasets::faithful[, 2]
      bins <- seq(min(x), max(x), length.out = bins() + 1)
      hist(
        x,
        breaks = bins,
        col = "darkgray",
        border = "white",
        main = i18n$translate("Histogram of x"),
        ylab = i18n$translate("Frequency")
      )
    })
  })
}
The important part to notice here is that the Translator
(i18n object) needs to be passed as an argument to the
inner module.
The next step is to call the main panel module in the
app/main.R file:
# app/main.R

box::use(
  shiny,
  shiny.i18n[Translator, usei18n, update_lang],
)

box::use(
  app/view/main_panel
)

i18n <- Translator$new(translation_json_path = "app/translations/translations.json")
i18n$set_translation_language("en")

#' @export
ui <- function(id) {
  ns <- shiny$NS(id)
  shiny$fluidPage(
    usei18n(i18n),
    shiny$div(
      style = "float: right;",
      shiny$selectInput(
        ns("selected_language"),
        i18n$translate("Change language"),
        choices = i18n$get_languages(),
        selected = i18n$get_key_translation()
      )
    ),
    shiny$titlePanel(i18n$translate("Hello Shiny!"), windowTitle = NULL),
    shiny$sidebarLayout(
      shiny$sidebarPanel(
        shiny$sliderInput(
          ns("bins"),
          i18n$translate("Number of bins:"),
          min = 1,
          max = 50,
          value = 30
        )
      ),
      main_panel$ui(ns("main_panel"), i18n = i18n)
    )
  )
}

#' @export
server <- function(id) {
  shiny$moduleServer(id, function(input, output, session) {
    shiny$observeEvent(input$selected_language, {
      update_lang(input$selected_language)
    })

    main_panel$server("main_panel", bins = shiny$reactive(input$bins), i18n = i18n)
  })
}
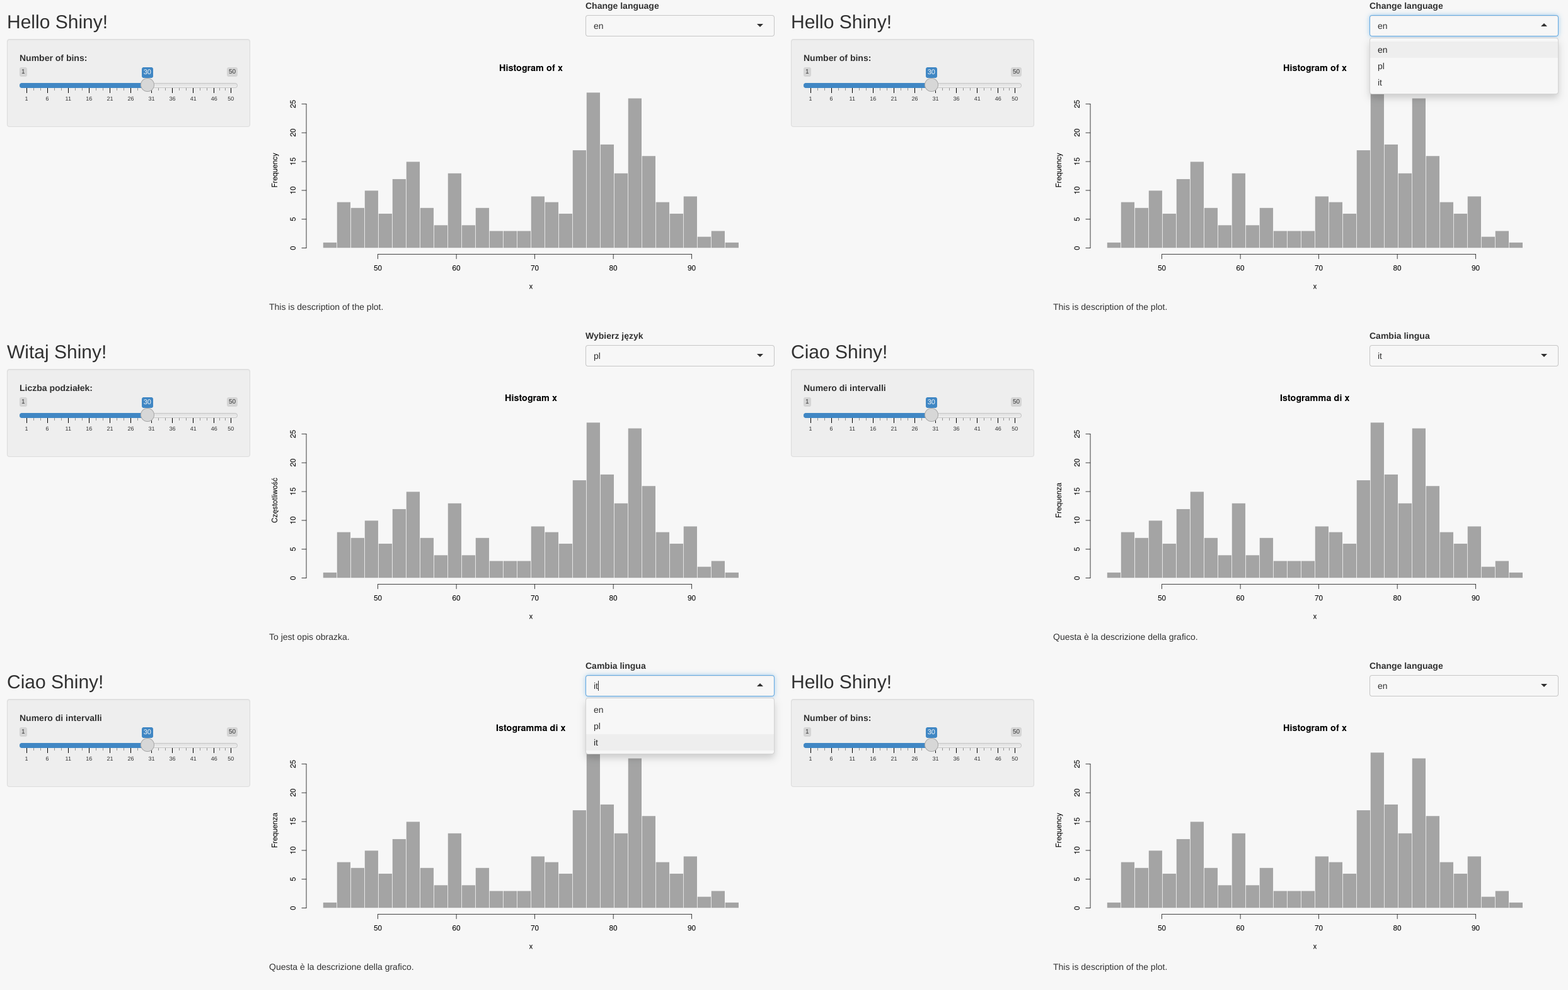
If you now run the application, it should look and behave as previously. The translation mechanism works, but the application code is now better structured.

Congratulations! You now have a fully armed and operational
battle station multilingual Rhino application!